If you are experiencing audio dropout, distorted audio or various noised like pops, cracks, clicks, etc. on your Mac computer during recording or playback, chances are your Mac OS needs optimization for audio. If you keep ignoring these problems, your ears will never get satisfied because they won’t get better unless you do something. This post will show you some easy tweaking on your Mac OS X to get better audio and perhaps, get rid of these issues for good.
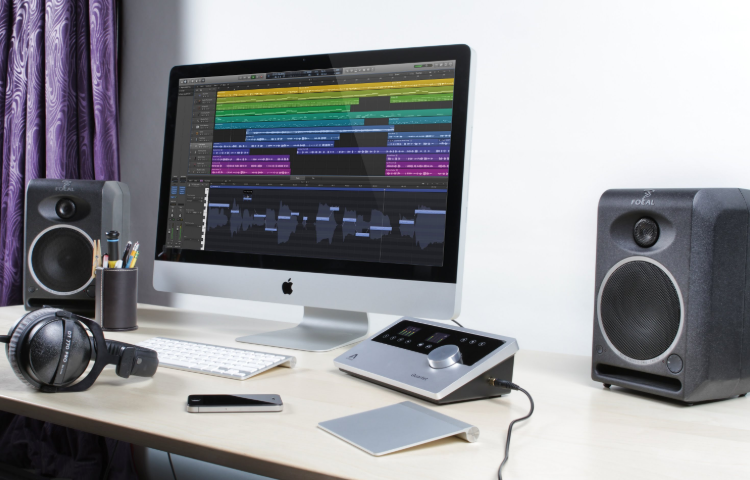
Optimize Mac OSX for Audio
Turn AirPort Off
“AirPort” is Apple’s name for WiFi or 802.11g/n. If you want your Mac connected to a wireless network, then you should leave it on, but you should know that wireless hardware & services can be resource-intensive, dragging your Mac audio processing performance down over firewire. So, if you have a better alternative to WiFi connections, you should turn AirPort off. It is a straightforward thing to do via the WiFi menu.

- Open “System Preferences”.
- Click “Network” icon.
- Choose “Network Port Configuration” under “show”
- Untick “AirPort” & click “Apply”
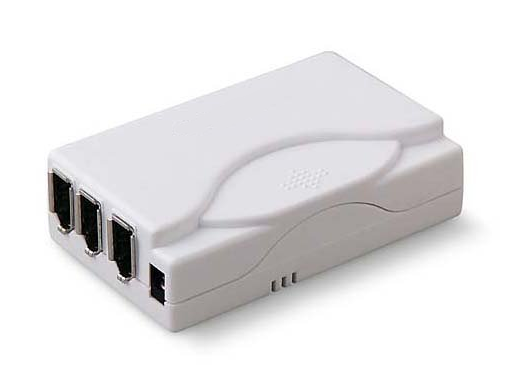
Buy a Firewire Expansion Hub
The Mac firewire ports (FW400 & FW800) are sharing system resources. If you are experiencing the aforesaid audio issues, it is suggested that you buy a firewire expansion hub for your FW400/FW800 devices.
Repair Disk Permissions
This can help solve audio issues over firewire or system slowdown.

- Disconnect every firewire device you have.
- Open “Disk Utility”.
- Choose the hard drive volume.
- Click “Repair Disk Permissions”.
- Reboot the Mac when the repairing is done.
Check more details on how to repair disk permissions.
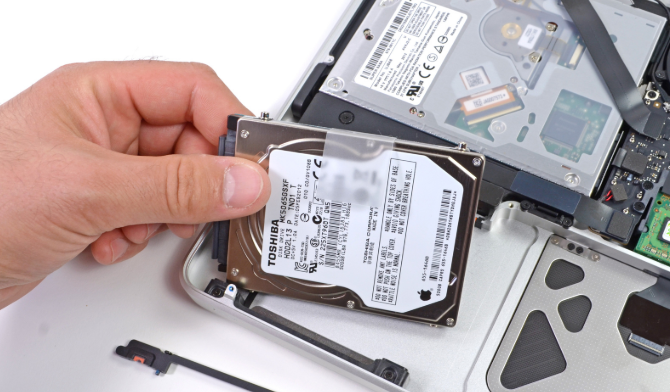
Get Faster Disk Speed
Your Mac for audio should make use of 2 hard disks, at least: one for the OS and all apps and the other for your audio and data. This will keep system drive idle and running faster. It is suggested that you use a 7200 RPM external hard drive to save your audio data.
Now we have listed some methods to optimize your Mac for audio producing and processing. Try them out and see if you can get the problems figured out.
If you have recorded audio perfectly, without any noises caused by poor Mac performance, you may be facing some format issues to right now. Usually, the raw audio recording is in uncompressed WAV format, preserving all the details (useful or not) for further editing. These WAV files are too big for simple playback on your Mac or any devices. It’s time to convert them to MP3.
How to Convert Recording to MP3
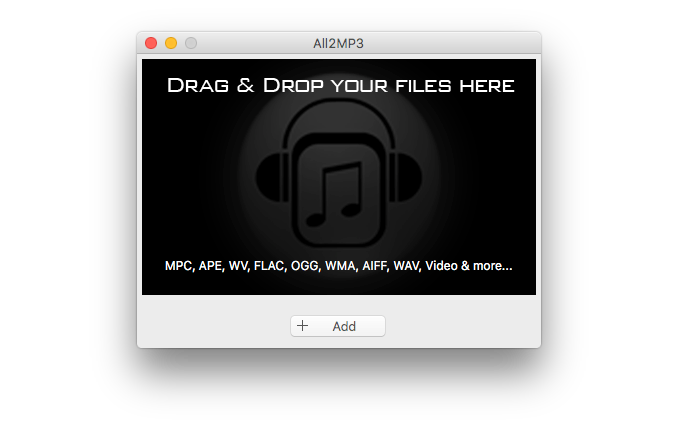
All2MP3 for Mac is the easiest audio converter for Mac, which can convert WAV to MP3. It also handles all the audio formats you can find. 2 steps are enough to convert all your audio files:
- Drag the audio files in.
- Choose the output folder & quality and CONVERT!
More details…
How to Get Better Audio in Your Videos
If you are trying to record audio for video, like a tutorial or demo video using your Mac, then your audio must be of good quality to catch the ears of your viewers. There are some certain techniques and improvements that can help enhance your recording. Watch the video below to learn how to get better audio for video.
How to Record text to speech as mp3 on Mac OS
Now you get the tips to optimize your Mac for audio recording & producing as well as the tricks to improve your audio for video. But what if you don’t want to record your voice? Instead, you may just want to turn some texts into spoken language. Don’t worry about those complicated tutorials and third-party applications that are expensive or require installment of various extra stuff. Check this video out to learn how to record text to speech on Mac OS as MP3.