For iTunes users, their iTunes library must be chock full of music, photos, TV shows, movies and podcasts. If they don’t take their data seriously, in other words, they don’t back up their iTunes library regularly, they may run into the situation where all of the media files will be lost. Thus creating regular iTunes backups becomes something essential for everyone. In this article, we’re going to show you ways to back up iTunes library on Mac.

Manually Back Up iTunes Library on Mac
Consolidate Your iTunes Library
There are two choices for managing media files in iTunes. You can do it by yourself or let iTunes do. There is not much to say if you do it yourself but if you let iTunes take control, it will save the copy of all media files to a single location, which makes it much easier to back everything up. Before you create iTunes backups manually, you need to perform some maintenance tasks to make sure your iTunes library is managed by iTunes, namely, you need to consolidate your iTunes library.
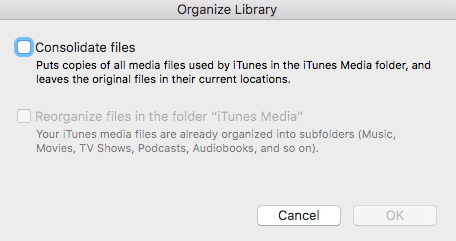
In iTunes menu, go to “iTunes – Preferences” and click “Advanced”. Check the boxes of “Keep iTunes Media folder organized” and “Copy files to iTunes Media folder when adding to library”. Open iTunes and navigate to “File – Library – Organize Library”. Check the box of “Consolidate Files” and click “OK”. It could take a while to finish.
You can also organize your library for easier backup. Go back “File – Library – Organize Library” and check the box of “Reorganize Files in the Folder “iTunes Media””. iTunes will organize your media files into subfolders.
Backup the iTunes Library
First, you need to make sure your destination drive is available. For a NAS drive, make sure it has been mounted on your Mac’s desktop. For an external drive, plug it in and turn it on.
In the Finder window, navigate to “~/Music” which is the default location for your iTunes folder. The “~” is a shortcut for your home folder, so the full path name would be /Users/your username/Music. You can also find the Music folder in Finder’s sidebar.
Open another Finder window and go to your backup destination. Drag your iTunes folder to the backup location. The Finder will start the backup process and it can some time depending on how large your iTunes library is.
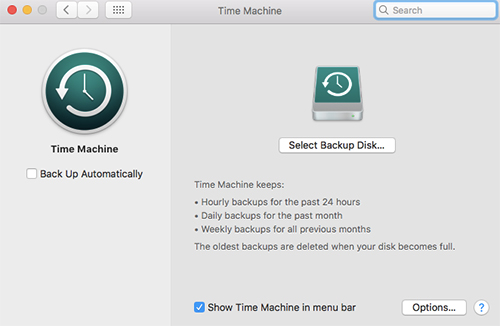
Create Backups Using Time Machine
If you want to back up iTunes on an external drive, you can choose to create backups automatically with Time Machine. It can create hourly, daily and weekly backups and you are allowed to exclude certain folders for backup.
How to Convert iTunes Music to MP3
The songs in your iTunes may not be in MP3 format but for those who want to export music from iTunes to other devices, they may run into drawbacks related to compatible issues. Don’t be upset, All2MP3 for Mac can help you out. No matter what format your audio files are present in, it can convert them into MP3 format so that you can play and enjoy your music more conveniently. The below tutorial will briefly guide you through how to convert iTunes music to MP3.
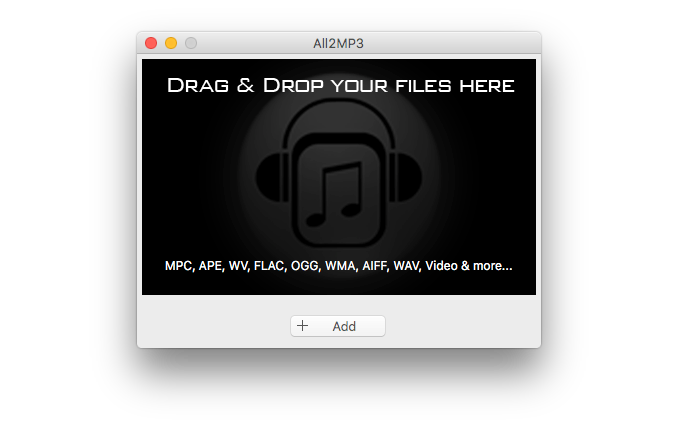
Step 1.
Drag and drop your songs into the program window or use “Add” to input.
Step 2.
There is a slider bar in “Quality” section, drag it for quality control. To choose an output folder, use “Change all Paths”.
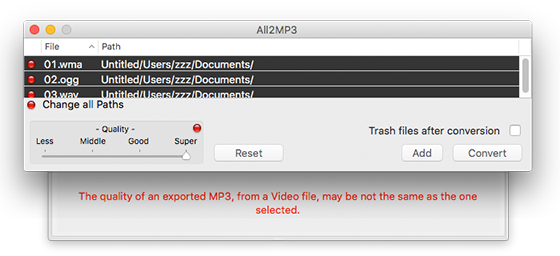
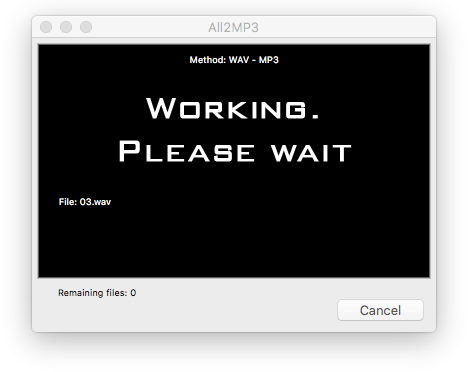
Step 3.
Click “Convert” to get your audio conversion started.
Back Up iTunes Library on Mac, now!
In this article, we’ve shown you how to make a backup for your treasured files in iTunes. If you don’t back up your iTunes regularly, it’s never too late to get started!