For people in the 2000s, iTunes was their first choice for playing and managing music. It was light-weighted, fast and provided a list of features that were unheard of in common music players. You could find that even Windows users downloaded iTunes in droves. However, in the last decade, this app has been knocked off its perch although Apple has attempted to turn it into a catch-all program for all kind of multimedia. Today, most of us would like to choose other music players instead of iTunes. Although it is a bloated mess, you can still change the situation with the following simple steps to make iTunes usable again.

1. Turn Off Genius Playlists to Make iTunes Usable
iTunes has accepted Genius playlists since 2008, but when music discovery turned to be labor-consuming, they harked back to a pre-streaming era. Genius playlists have cluttering issue and privacy concerns and it creates playlists by comparing one user’s library with all others’ with secret algorithms. To turn off it, navigate to “File – Library – Turn Off Genius” in iTunes.

2. Clean Up the Sidebar
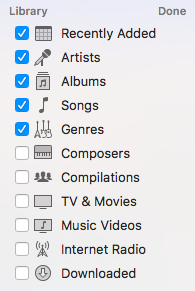
For every user especially an audiophile, it’s important for them to choose a music player with a good sorting tool for each piece of metadata. iTunes has done well on that since you are allowed to add a column for any content. However, the sidebar comes with 11 categories and most of them are useless.
To remove useless fields from the sidebar, put your mouse in the upper right corner of the window and click “Edit”. Uncheck the checkboxes as you need and keep the most common ones like Artists, Albums and Songs.
3. Remove Smart Playlists
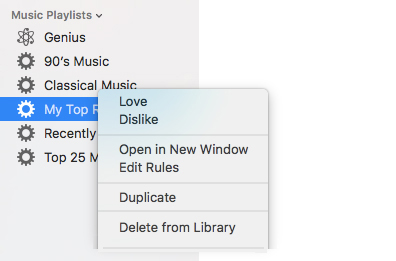
Smart playlist is useful because it can help you build your own playlists and keep them updated constantly. But for those who have an extensive music collection, you have to delete them all. Because smart playlists are resource-intensive and it often leads to slowly-running iTunes.
To delete a smart playlist, scroll down to “Music Playlists” of the sidebar, right-click the playlist’s title, and choose “Delete from Library”.
4. Hide Unused Services
One of Apple’s desire is to make iTunes a one-stop music player so you can find a number of services included. And you will notice that some services are useful but some are less so.
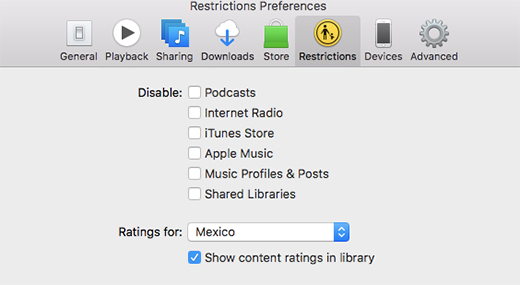
You can disable the bloated apps in “Preferences – Restrictions” and uncheck the boxes next to the services you want to disable.
You can hide these services: Podcasts, iTunes Store, Internet Radio, Apple Music, Music Profiles, Posts and Shared Libraries to make iTunes usable again.
5. Prevent Safari From Launching iTunes
Do you need more evidence to prove Apple aims to use iTunes for selling content rather than listening to music? Just see how Safari handles the App Store links. When you click on an App Store download using Apple’s browser, it will launch iTunes automatically. It will spoil your surfing experience and make iTunes more annoying.
To stop it from downloading, just install NoMoreiTunes, a third-party Safari extension and App Store links will open in Safari instead.
6. Disable Apple Music Buttons
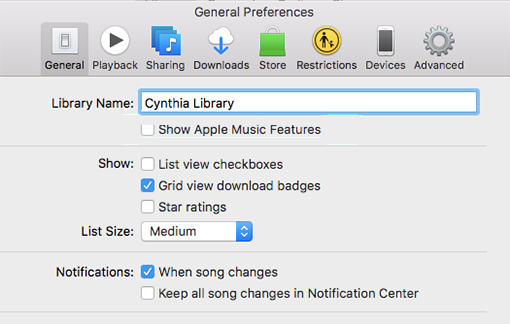
Apple Music also plays an important role in iTunes. On its music interface, the integration comes from the two tabs: For You and Browse. For You is Apple Music’s music recommendation tool; you can explore more Apple Music’s songs in Browse.
But for those who are not Apple Music subscribers, they are useless. To remove the Apple Music features, go to “Preferences – General” and uncheck the box next to “Show Apple Music Features”.
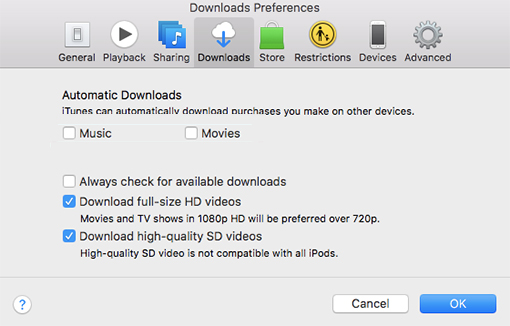
7. Disable Automatic Downloads
If you have been integrated into Apple’s ecosystem, you must own some other Apple devices. Whenever you buy an album on any one of these devices, it will be automatically downloaded onto iTunes. Many people don’t need a copy of an album they just purchased on every device they own. So, you need to disable the automatic downloads. Just navigate to “Preferences – Downloads – Automatic Downloads” and uncheck the boxes next to “Movies” and “Music” to make iTunes usable.
How to Convert Audio to MP3 on Mac
There is a scenario: you might get an audio file that’s either in a format incompatible the device you want to play it on or in a format that you prefer to convert because of large size or lossy quality. There are scads of audio converters you can use, but what will you use when you want something converts quickly without any quality loss or other fuss and bother, and that costs you nothing? Try All2MP3 for Mac and you will know you’ve made a correct decision.
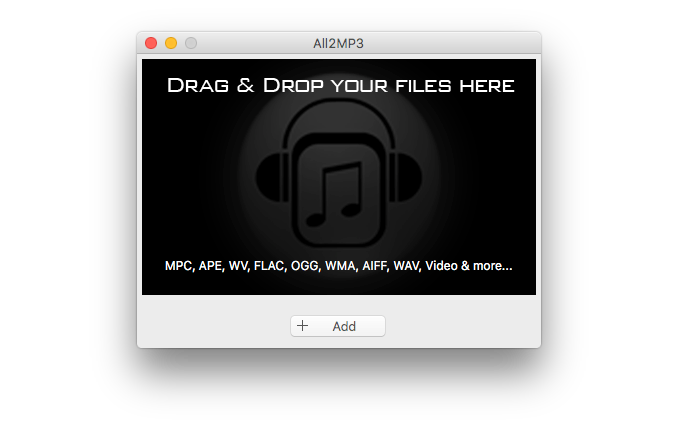
Step 1.
Get All2MP3 for Mac launched and open it. As you can see in the program window, drag and drop your audio files for audio inputting or click on the “Add” button.
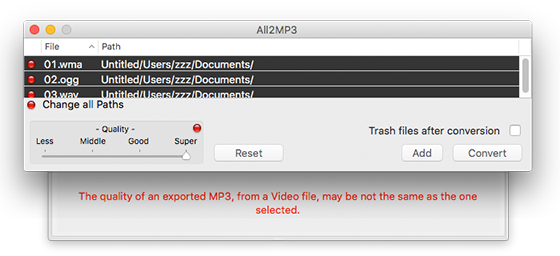
Step 2.
Drag the slider bar in the “Quality” field to choose a quality level. You can also choose the bitrate by clicking the red button of “Quality” and it will change into the green. Then, click the red button of “Change all Paths” to choose an output folder.
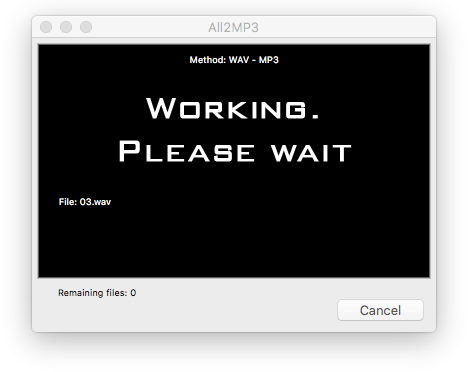
Step 3.
Finally, click “Convert” to start the audio conversion in no time.
In summary, we hope the above-combined ways can help to make iTunes usable again. If you’ve got other ways to make this app a bit more bearable, we hope to hear from you.