DRM stands for Digital Restrictions Management which can control what kind of activities you do to your digital media files and which device you play them on. There are some cases that show you are restricted by DRM: your song can’t be shared on certain program; eBook needs to be read on other devices; there is no internet connection when playing games on single player. Nevertheless, DRM is a double-edged sword which set limits on some activities you want to do on the media files and at the same time protect your privacy or censorship. Sometimes, you may feel the need to remove DRM on Mac. This post will focus on why and how to do it.
DRM is about Setting Restrictions, not Granting Rights
You may find another definition of DRM that is “digital rights management”, meaning it grants you the authority or rights for the way you use your media files. The fact is that DRM sets restrictions not rights on both the media files and devices. If you want to get freedom, deleting DRM can help. As we can get our own control of the media files or devices, not restricted by media company, we prefer the definition of “Digital Restrictions Management”.
Why You Need to Legally Remove DRM on Mac?
- For those who have bought a season of TV series from iTunes, they might not have the ability to burn it into DVD or play it on any devices they like. This can frustrat them most.
- It must be disappointing that you can’t enjoy the audio or video files purchased from iTunes store on all your portable devices. It seems unacceptable that most people won’t make their media content available by buying an iPad.
- It seems impossible to watch movies purchased from iTunes with high definition on HD TV but on Apple TV. It is a great pity for those who have bought a HD player like WD TV. DRM makes the movies from iTunes unplayable on WD TV unless they spend money for another suitable media player.
- You may get a nice 1080p set which is connected to your MacBook through VGA. It must make you pissed off when the DRM contained in HD movies from iTunes won’t let you play them via VGA. Thus you defenitely have the need to kill the DRM for making your movies playable on TV.
- Somtimes, you may purchase some videos from iTunes to kill time when you are traveling. Due to the reason that those videos contain DRM, you can’t enjoy them on any devices you want. The only way to solve the problem is to get rid of the DRM so as you can enjoy the movies you bought legally.
How to Remove DRM on Mac – Remove DRM in iTunes or Apple Music Songs
DRM has been dropped from iTunes music by Apple since the year of 2009. However, DRM was recalled back after Apple Music released its streaming services. It becomes necessary to remove DRM from the audio of Apple Music and purchased music from iTunes and NoteBurner iTunes DRM Audio Converter can help.
- First you need to download NoteBurner iTunes DRM Audio Converter and install it. It is compatible for Mac and Windows OS and you are allowed to select any version as you need.
- After that, launch this program and you can see that iTunes automatically opens. Click “Add” and you can add audio file in M4P from iTunes and you can also convert audio in batch.
- At the top right of the program window, click on “Setting” to choose output format, set output quality or specify the conversion speed. Both MP3 and AAC are provided. Besides, the conversion speed can reach to 20% faster than others.
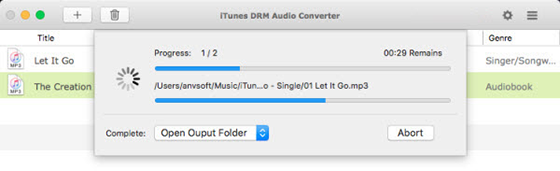
- When all settings are done, click on “Convert” to start DRM removing. You will find that the converted audio contains all the metadata and ID tag. Now, just enjoy your music without DRM.
How to Remove DRM on Mac – Convert Audio to MP3 on Mac!
If you have audio files without DRM and want to convert them to MP3 or between 50+ audio formats, All2MP3 for Mac is highly recommended. It has the ability to handle numerous audio formats like WMA, WAV, OGG, AAC, M4A, FLAC, AIFF, APE, etc.
First,
Go to the official website http://tresrrr.com/ or use the download button below to download and launch All2MP3 for Mac. It claims to be totally free without any malware or virus.
Second,
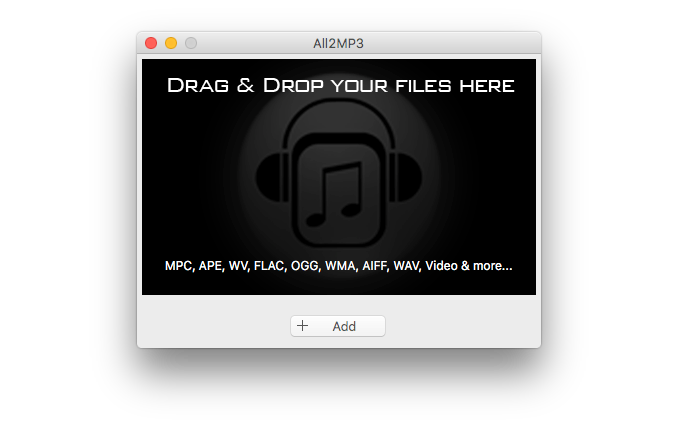
After that, open this software and in the program window, you will be very clear about how to add your audio files: drag and drop your files directly or use “Add” button.
Third,
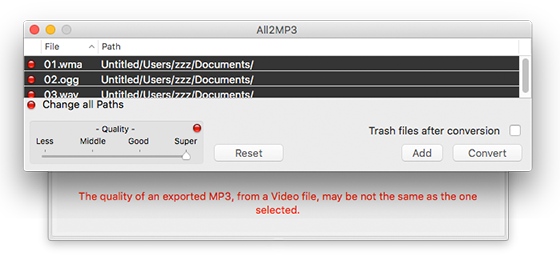
Those audio files you add will be listed and use “Change all Paths” button to choose an output folder for them. You can choose different quality level and bitrate in “Quality” field by dragging the slider bar below. “Reset” is used for restoring your settings and “Trash files after conversion” is for deleting original files. If you want to get more files converted, use “Add”.
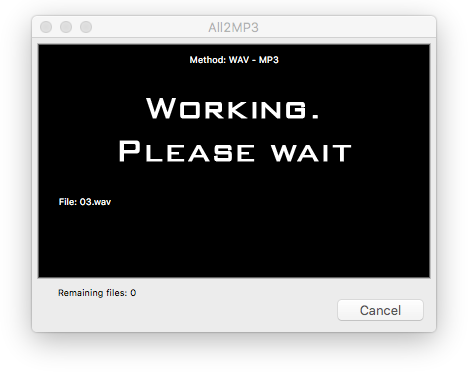
Fourth,
Click “Convert” to start your audio conversion and wait. When it is finished, go to the output folder and find the files named “xxx.mp3” and xxx is your original file name.