Nothing could make you upset except when you are listening to your favorite albums but the internet connection falters. It’s time to download iTunes library on Mac and make your collection safely nestled. Only in this way can you enjoy the streaming music even your internet is inaccessible. In this article, we’ve put together the guides on how to download iTunes library on your Mac.
How to Download iTunes Library on Mac Using iTunes
For those who have signed up to Apple’s iTunes Match, they will have copies of all the albums saved in the iCloud Music Library. It could be helpful if the music files have been deleted and they can be downloaded again at a higher quality. iTunes library can also be accessible on multiple machines only if they are all authorized.
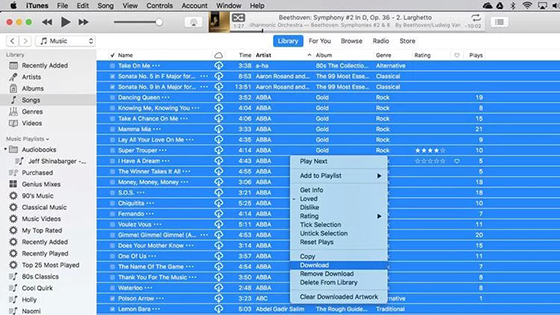
To Download iTunes Library on Mac: open iTunes and go to “View” tab and in its drop-down menu, select “All Music” instead of “Only Downloaded Music”. Then select songs from the “Library” column on the left. Beside the song title, there will be a small blue cloud icon with an arrow. These are those songs that you haven’t downloaded yet. Highlight one of the songs and press “Cmd + A” to choose the whole list. Now right-click on the blue area and select “Download” from the menu to start downloading. It may take just a few minutes or a long time depending on the library size.
How to Move Your iTunes Library to Another Mac
Your iTunes library may contain various kinds of media like music, TV shows and many others. However, it may swell to huge proportions that there is not enough space for your iTunes library on Mac. But thankfully, you can solve the problem with three options: prune your media collection madly; move your iTunes library to another Mac with more space; copy iTunes library to an external hard drive. If you skip over the first option, so we will explore more for the other two options.
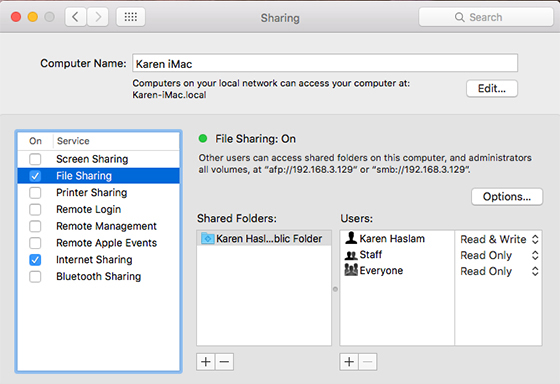
On the source Mac, go to “System Preferences – Sharing”. In the list, turn on “File Sharing”. Then your source Mac should appear in the Shared section of your destination Mac. Select it and click “Connect As”. In the sign-in window, select “Registered User” and type the name and password of your source Mac.
Go to “~/Music” on the window showing the source Mac’s file system and drag the entire iTunes folder to the destination Mac. Once the copy is completed, you need to authorize your destination Mac to play the media content bought from iTunes Store. You can test a few of copied files for checking if they work well or not. If they are ok, just delete the iTunes library on the source Mac and remember to deauthorize the old Mac.
How to Move Your iTunes Library to an External Drive
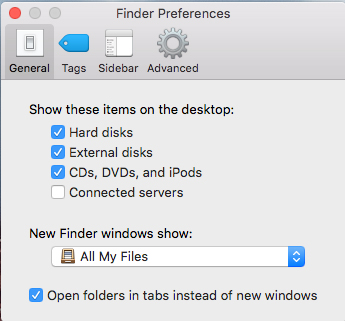
If your iTunes library is too large, you can choose to copy it to an external drive. First, go to “Finder – Preferences” and enable “External disks” and “Hard disks” there. Go to “Go – Home” and then double-click the Music folder to find the iTunes folder. Now, drag and drop the folder into your hard drive and it could take some time especially for large iTunes library. When it’s finished, you will need to relaunch iTunes and choose a new library.
How to Convert iTunes Music to MP3
The passages above have covered how to download iTunes Library on Mac, but if you want to export music from iTunes Library to your other devices, you will run into drawbacks when it comes to converting your music files. No matter what format the files are present in, it is necessary to convert them into MP3 format first, thus you will be able to play and enjoy your music without limitation. All2MP3 for Mac can help you do that because it has the ability to convert all audio files into MP3 on Mac with faster speed and top quality.
Step 1.
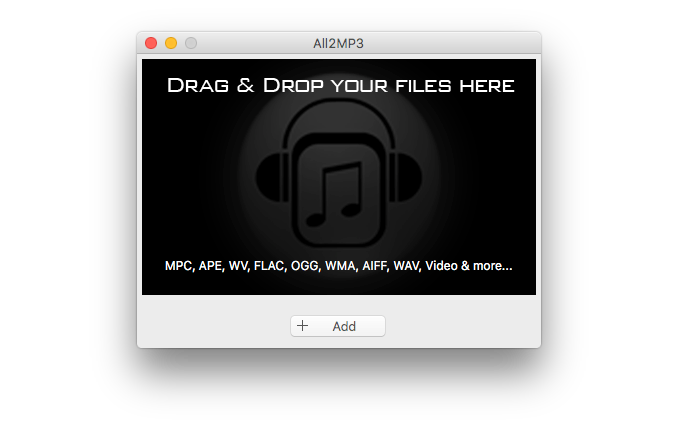
Before you use All2MP3 for Mac, get it downloaded and installed first. Open this program and drag your audio files to the window. “Add” button can also be used for audio inputting.
Step 2.
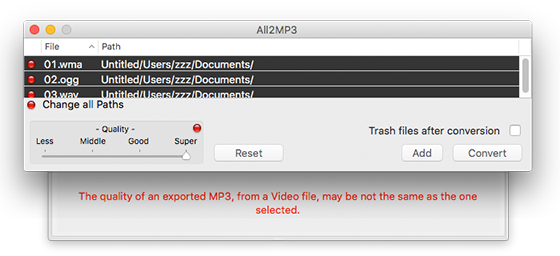
All2MP3 for Mac makes it quite easy for quality control. Even a beginner will know choosing the quality level by dragging the slider of “Quality”. To save the converted files, click the button of “Change all Paths” to choose an output folder.
Step 3.
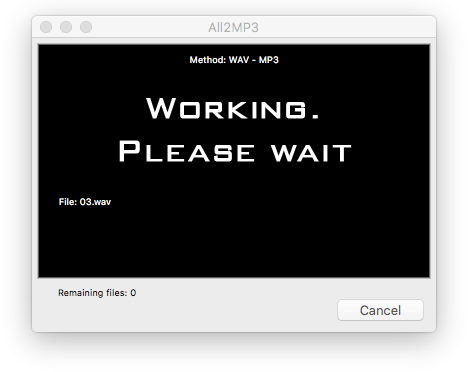
Click “Convert” and your audio files will be converted to MP3 immediately.
Now that you have gone through the above guides for iTunes library downloading, moving and converting and if they indeed make your digital life easier, don’t forget to share with your friends!